
How to Temper Chocolate Like a Pro
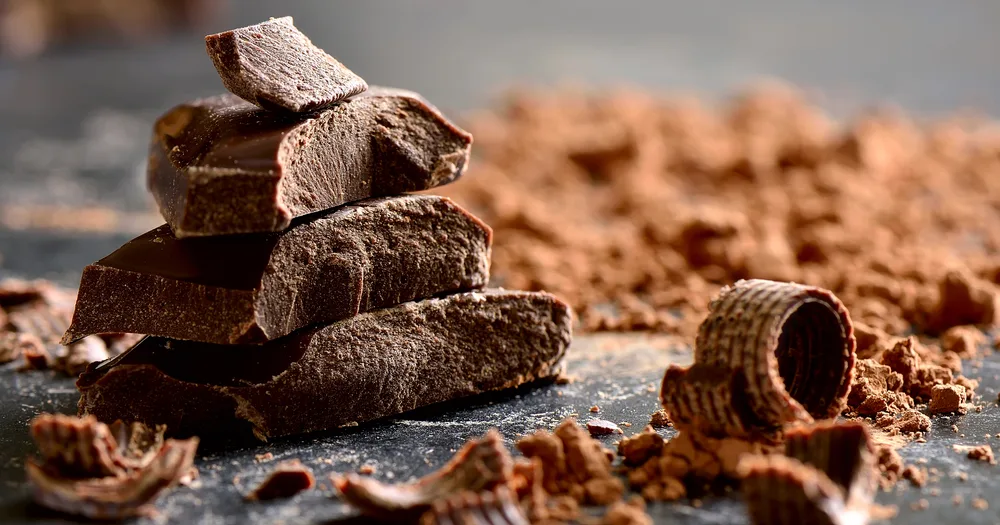
Tempering chocolate may sound like something only expert chocolatiers do in gleaming kitchens, but it’s a skill anyone can master with patience and the right technique. Perfectly tempered chocolate is smooth, shiny, and snaps beautifully when broken. It’s the secret behind professional-looking truffles, dipped fruits, and glossy dessert decorations. Once I understood how to control the temperature and movement of melted chocolate, my homemade confections began to look and taste like they came from a boutique chocolatier.
Tempering chocolate is more than just melting and cooling; it’s about aligning the cocoa butter crystals in the chocolate. These crystals are what give tempered chocolate its structure and texture. Without tempering, chocolate can look dull, streaky, or even develop white spots known as bloom. Those imperfections happen because the cocoa butter separates, so proper tempering prevents that and ensures the chocolate sets beautifully every time.
Why Tempering Matters
Tempering chocolate isn’t just about appearance. It affects texture, flavor, and how well your chocolate holds up. Untempered chocolate tends to be soft at room temperature and may melt in your hands quickly. Tempered chocolate, on the other hand, stays firm and keeps that perfect snap when bitten into. It’s also essential if you’re coating candies or truffles since it creates a thin, crisp shell that complements soft or creamy fillings inside.
When chocolate is tempered correctly, it also contracts slightly as it cools. This makes it much easier to remove from molds, whether you’re making chocolate bars, bonbons, or shaped decorations. That simple contraction can mean the difference between a professional finish and a sticky mess that won’t release properly.
Choosing the Right Chocolate
Before starting the tempering process, the type of chocolate you use matters. High-quality chocolate that contains real cocoa butter is a must. Many cheaper varieties or chocolate chips contain vegetable fats instead, which can make tempering impossible. I like to use couverture chocolate because it contains a higher percentage of cocoa butter and melts smoothly.
You can use dark, milk, or white chocolate, but each has a different tempering range. Dark chocolate usually needs to reach higher temperatures, while milk and white chocolate, which contain more dairy, are more delicate and temper at lower temperatures. Reading the packaging for exact cocoa content helps because the more cocoa butter your chocolate has, the more precise you’ll need to be with the temperature.
Equipment You’ll Need
Tempering chocolate doesn’t require a fancy setup, but precision tools make a big difference. You’ll need:
- A double boiler or heatproof bowl set over simmering water
- A digital thermometer for accuracy
- A silicone spatula for stirring
- A marble slab or cool surface (optional but helpful)
- A scraper if you’re using the marble method
These tools help maintain the control you need over temperature and consistency. I’ve learned that rushing this step or trying to guess the temperature almost always leads to uneven results.
The Classic Seeding Method
One of the most reliable ways to temper chocolate at home is the seeding method. This technique involves melting most of your chocolate, then using unmelted pieces to “seed” stable crystals back into the mix. It’s straightforward and doesn’t require transferring chocolate between surfaces.
Start by finely chopping your chocolate so it melts evenly. Place two-thirds of it in your heatproof bowl and set it over gently simmering water. Stir constantly, making sure no steam or water touches the chocolate, as even a few drops can cause it to seize.
For dark chocolate, heat until it reaches around 115°F (46°C). For milk chocolate, aim for 110°F (43°C), and for white chocolate, keep it at about 105°F (40°C). Once it’s fully melted, remove it from the heat. Then, gradually add the remaining third of your unmelted chocolate, stirring continuously until the temperature cools to about 88–90°F (31–32°C) for dark, 86–88°F (30–31°C) for milk, or 82–84°F (28–29°C) for white chocolate.
The added solid chocolate helps form stable crystals, and constant stirring ensures they distribute evenly. If your chocolate thickens too much, you can gently rewarm it a few degrees to maintain the working temperature without melting the crystals again.
The Marble Slab Method
If you enjoy working with your hands and want to feel like a chocolatier, the marble method is an elegant alternative. It involves pouring two-thirds of your melted chocolate onto a marble or granite slab and using a scraper to spread, gather, and spread again. This motion cools the chocolate while encouraging those stable cocoa butter crystals to form.
Once it reaches the right temperature (around 82°F or 28°C for dark chocolate), you transfer it back into the remaining warm melted chocolate in your bowl. Stir to blend them together until the mixture reaches the perfect working temperature. This method takes practice, but it’s satisfying and gives you precise control over the texture.
How to Know It’s Tempered
Testing your chocolate before using it can save a lot of frustration. I like to dip a spoon or a small piece of parchment into the chocolate and let it sit at room temperature for about five minutes. If it hardens evenly with a glossy finish and no streaks, it’s tempered correctly. If it looks dull or remains sticky, it needs more tempering or a little temperature adjustment.
Another tip is to pay attention to how the chocolate behaves as you work. Properly tempered chocolate flows smoothly but sets quickly. It will coat fruits, nuts, or candies evenly and firm up without needing refrigeration.
Common Mistakes and How to Fix Them
Tempering chocolate can be sensitive work, and small mistakes can lead to frustrating results. The most common issue is overheating, which destroys the stable crystals you’re trying to create. If that happens, just add more unmelted chocolate and stir to lower the temperature.
Another issue is water contamination. Even a drop of water can cause the chocolate to seize into a grainy paste. Always make sure your utensils are completely dry and keep steam away from your bowl. If seizing does happen, you can try turning it into a ganache by adding a bit of warm cream, but it won’t be usable for tempering anymore.
If your tempered chocolate cools too much while working, gently reheat it a few degrees at a time. Don’t rush this step or you’ll undo all your work. Having a heat gun or hairdryer nearby can help maintain the right consistency without overheating.
Working with Tempered Chocolate
Once your chocolate is perfectly tempered, you can use it for countless desserts. Dipping strawberries, making truffles, or coating pretzels are easy starting points. For a fancier project, try pouring it into silicone molds to make your own chocolate bars or shells for filled candies.
I love using tempered chocolate to decorate cakes and pastries too. Drizzling it over whipped cream or piping small shapes onto parchment paper creates delicate accents that harden beautifully. Once set, these decorations add texture and a professional touch to homemade desserts.
Tempered chocolate can also be used to coat caramels, nougat, or even marshmallows. Because it sets quickly and holds its shine, it keeps candies fresh longer and makes them more visually appealing.
Variations and Flavor Enhancements
Once you master the basics of tempering, experimenting with flavors becomes exciting. You can add a touch of sea salt for a savory contrast or mix in freeze-dried raspberries for tart bursts of flavor. Spices like cinnamon, chili, or cardamom can also elevate your chocolate and make it unique.
Infusing chocolate with subtle flavor oils like orange, mint, or espresso can completely transform the experience. Just make sure to use oil-based extracts, since water-based ones can interfere with the temper.
You can even layer tempered chocolate of different types, like dark and white, to create marbled effects. This technique looks impressive and adds depth to the taste.
Storing Tempered Chocolate
Properly tempered chocolate can stay in perfect condition for weeks if stored correctly. Keep it in a cool, dry place away from direct sunlight and humidity. Avoid refrigerating it unless absolutely necessary, since moisture can cause sugar bloom on the surface.
If you do refrigerate chocolate-covered treats, let them return to room temperature before serving to prevent condensation from dulling their finish. Storing chocolates in airtight containers with parchment between layers helps protect them from scratches and smudges.
Why Tempering Feels Worth It
Tempering chocolate may require precision and patience, but the results make it worth every step. Watching your chocolate transform from dull and grainy to smooth and shiny feels incredibly rewarding. The final texture, the clean snap, and the glossy sheen elevate even simple desserts to something special.
The process also connects you to a craft that’s been refined over centuries. Once I got the hang of it, tempering became almost meditative. The rhythmic stirring, the careful checking of temperature, and the satisfaction of seeing it set perfectly gave me a deep appreciation for the artistry behind chocolate making.
Final Thoughts
Mastering how to temper chocolate like a pro opens up a new level of creativity in the kitchen. It’s one of those skills that seems intimidating until you try it yourself. With the right chocolate, accurate temperatures, and a little patience, the process becomes second nature. The glossy, snappy finish on a well-tempered batch not only looks stunning but enhances the entire dessert experience.
Tempering is more than a technique, it’s an act of care that turns simple ingredients into edible art. Once you perfect it, you’ll never look at melted chocolate the same way again.